While transferring my 2GB worth of data from my 2TB external hard drive to my computer system via cut and paste method, somehow, the external hard disk got crashed, and the transferring process has been stopped. I tried to reconnect my external hard drive into the system but found no data in it. The system recognizes the drive; only the data is invisible. Don’t know how to deal with this situation?
Losing your valuable data during cut and paste method is very common situation faced by users every day. And of course, this is not easy for ordinary users to deal with this data loss issue. When users come across such situation, then they should take some precautions to prevent permanent data loss.
Firstly, the user needs to aware of the data overwriting issue. To avoid such problem, a user should be mindful of the fact that if he put anything on the drive from which he wanted to recover his lost data, it may overwrite empty space and the probability of data recovery becomes zero.
How to Safely Recover Lost Data from the External Hard Drive?
Firstly, you can check the recycle bin of Windows to see if the missing files are available there for restoration. However, in data loss case because of cut and paste method, there are very less chances of finding your files in recycle bin. If you don’t find your files in the recycle bin, then move to the next solution.
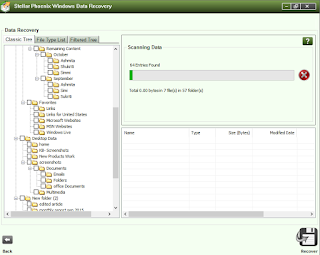
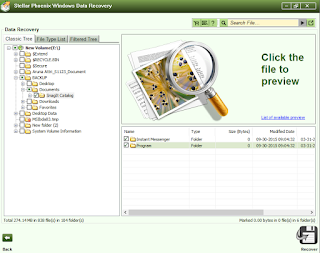
You need to go for the professional data recovery software before the situation turns to worst. Data recovery software is the safest solution for the lost data recovery from external or internal hard drives. You only need to download the data recovery software on your system and connect the external hard disk for recovering your lost data. Don’t download the data recovery software when the external hard drive is connected to your system as it may cause data overwritten issue. First, remove your hard drive in which you want to perform the recovery process and then download the data recovery software.
To know the detailed recovery process of Stellar Phoenix Windows data recovery software, please click on Get Deleted data back with Windows data recovery software.
Conclusion: - The shortcut key like cut and paste is the most useable key which is used by all computer users. And this may sometimes cause data loss issue. But now, with the help of data recovery software of Stellar Phoenix, a user can quickly and easily deal with this problematic situation.


